Hi Bramblecot,
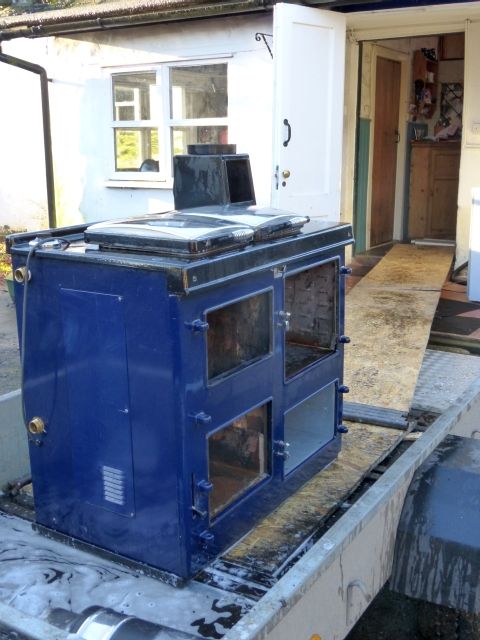
We drove down to collect Rosemary last weekend (Sorry Mrs Champion - the name just kinda stuck!

). Took us four hours to get her out of her old house and onto the trailer, followed by an eight hour drive back home

. As I suspected, the tiles had been fitted after the stove was in position. Likewise it turned out the flue pipe had been dropped in through the roof and then mortared into position

, so it was a very long job to get it out without damaging the poor lady's kitchen!
We spent last week re-tiling and plastering the alcove, then finally moved the Rayburn into position today. Since I'm sure this thread will be found and read by others, here's how we did it:
In true Haynes Manual style, re-fitting was the reverse of removal
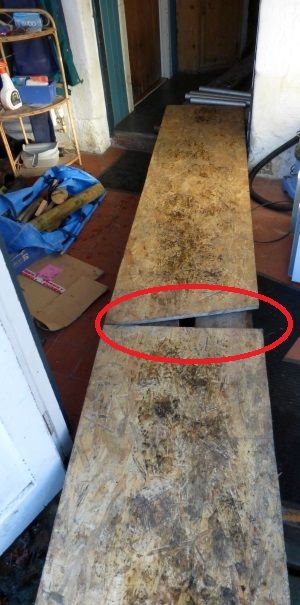
. First we built a 'runway' out of scaffold planks and OSB (thanks Bloomer!). Luckily the trailer was almost the same height as the kitchen floor, so we didn't need to change height much. (by the way, the method we used to change height to get it out last weekend was to roll it back and forth, increasing the roller size each time, and adding bigger bits of wood underneath. So you can go from a 1" roller to 1.5" to 3" and finally a 4" fencepost, then add some strips of OSB to the new height and returning to the 1" rollers again. Once it's on the smallest rollers, any difficulties in going up a size are easily overcome by levering up with a large crowbar, using a piece of wood as a fulcrum):
The 'runway' was made by lying sheets of OSB on top of the scaffold planks. One important feature was that we cut little triangles off the ends of the sheets. These could then be added back in to keep going in a straight line, or put back in the other way round to change direction.
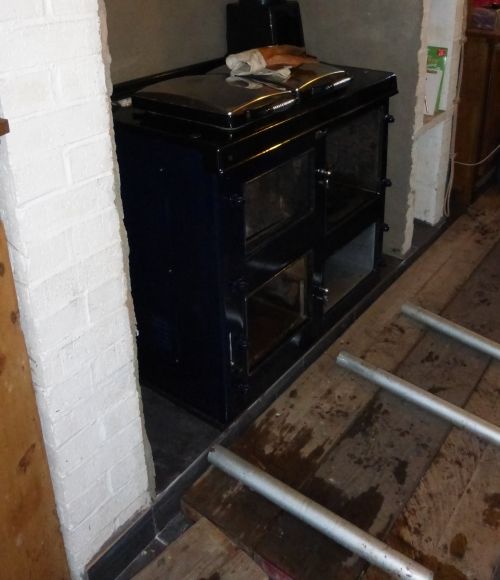
Even at 300kg without the doors on, it was very easy for two of us to roll it along the flat

and then with a greased bottom

, push it back into position on the new tiles
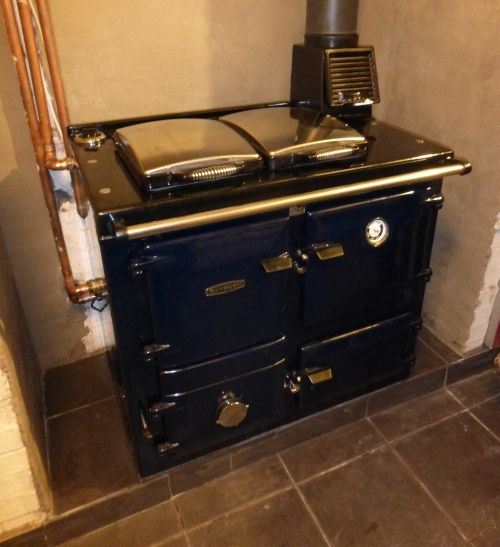
The plumbing was a bit fiddly, but we managed to get it connected up without any leaks.
So, just the flue to do now, along with finishing off the grouting, plastering, painting and maybe tiling (we don't like the original brickwork, so have decided to hide it). I'll post another pic in due course once the job is finished.
Thanks for all your help folks

- this turned out to be soooo much easier than I thought it would be!
 Topic: Moving a Rayburn (Read 30363 times)

